Thinking About Deck Railing DIY?
So, you're eyeing your deck railings and thinking, "You know, I could probably handle that myself." It's a pretty common thought, especially for folks who like to roll up their sleeves and tackle projects around the house. And honestly? For some parts of a deck railing job, you absolutely can. But for other parts, it's smarter, safer, and, let's be real, often cheaper in the long run to get someone who does this every single day. Let's dig into what you need to know before, during, and after you mess with those railings.
Before You Even Buy a Single Post
First things first: safety and building codes. This isn't just about making your deck look nice; it's about making sure nobody takes an unexpected tumble. Here in Pawtucket, just like everywhere else, there are specific building codes for deck railings. You've got to know the minimum height (usually 36 inches for homes), how far apart the balusters can be (a 4-inch sphere shouldn't be able to slip through), and just how strong the whole thing needs to be. Don't guess on this stuff, okay? A quick call to the Pawtucket building department can save you a massive headache later on. They'll tell you exactly what's required.
Next, take a good look at your existing deck structure. Is it really solid? Are the posts holding up the deck itself in good shape? If your deck is old, or if you've got rot or a shaky feel to it, new railings won't magically fix that. In fact, bolting new, heavy railings onto a weak structure is just asking for trouble. Give your deck a thorough once-over. Look for soft spots, wobbly posts, or any signs of water damage, especially where the deck meets the house. If you spot anything iffy, stop right there. That's definitely a "call a pro" moment.
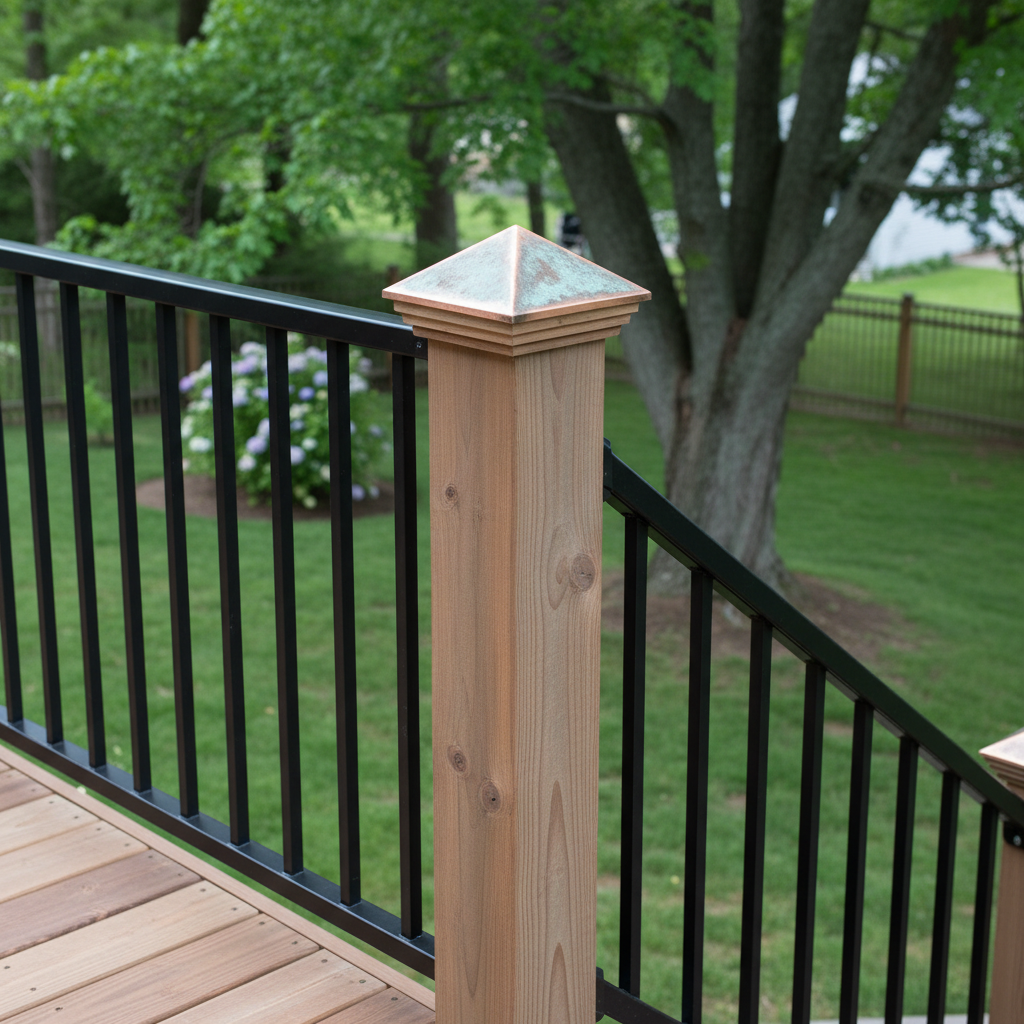
Finally, materials. Wow, there are so many choices: wood, composite, vinyl, aluminum, cable. Each comes with its own good points and bad points when it comes to cost, how much upkeep it needs, and how tough it is to install. Wood is a classic, but it'll need regular staining or painting. Composite and vinyl don't need much care, but they can be trickier to get perfectly straight during installation. Aluminum and cable give you that modern look, but they often require special tools and specific ways of doing things. Think about the style you want and how much maintenance you're willing to do.
During the Installation: DIY vs. Pro
Okay, you've checked the codes, your deck is sturdy, and you've picked your materials. Now for the actual work.
- Removing old railings: This is usually a pretty straightforward DIY task. Grab a pry bar, a hammer, and a reciprocating saw. Just be careful not to damage the deck structure itself.
- Installing new posts: This is where things can get a bit hairy. Railing posts absolutely have to be super secure. If your new railing system uses surface-mounted posts (bolted to the top of the deck frame), you need to make sure you're hitting solid joists or blocking. If they're fascia-mounted (attached to the outside rim joist), you need to be sure that rim joist is strong enough and that you're using the right fasteners. Getting these posts perfectly plumb and spaced correctly is essential for the whole railing to look good and, more importantly, be safe. This is often where I see DIYers get into a bind. If you're not confident with structural connections and super-precise measurements, this is a good spot to think about bringing in an expert.
- Attaching rail sections and balusters: For simple systems, like pre-assembled composite panels or basic wood balusters, this can be a manageable DIY task. Follow the manufacturer's instructions to the letter. Measure twice, cut once. Make sure your baluster spacing is consistent and meets code. If you're working with more complex systems like cable railings or intricate metalwork, the specialized tools and precision required usually push this into the "pro" category.
- Stairs: Railings on stairs are a whole different animal. The angles need to be spot-on, the handrail height consistent, and the baluster spacing maintained. This takes a lot of experience and precision. I wouldn't recommend this for a first-time DIYer.
Look, I've seen plenty of homeowners do a fantastic job on their railings. But I've also been called in to fix a lot of wobbly, unsafe, or just plain ugly DIY railing jobs. If you're not 100% confident in your skills, especially with the structural parts, don't hesitate to call Pawtucket Quality Decks. We've got the tools, the experience, and the know-how to get it done right, the first time.
After the Project: Maintenance and Inspection
Once your new railings are up, whether you did it yourself or hired us, don't just forget about them. Give them a once-over every spring. Check for loose fasteners, wobbly posts, or any signs of wear and tear. If you have wood railings, keep up with the staining or painting to protect them from our Rhode Island weather — those harsh winters and humid summers can really do a number on outdoor wood. For composite or vinyl, a good cleaning with soap and water usually does the trick.
Regular inspection isn't just about how things look; it's about safety. A small issue caught early is a lot easier (and cheaper) to fix than a major problem down the line. If you ever notice anything that makes you question the safety of your railings, get it checked out immediately. Your family and friends will thank you for it.